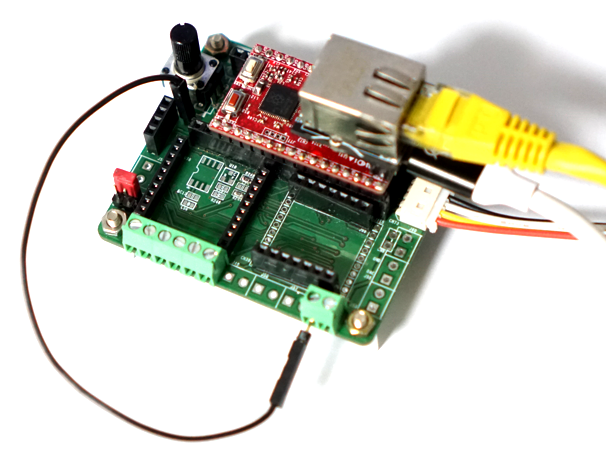
[RP2350_W6100 SM] 보드를 이용하여 웹페이지 기본 테스코드를 이용하여 ADC전압값을 표시하는 웹서버 예제를 테스트 해 보자.
RP2350을 이용하여 Arduino IDE에서 W6100의 Iperf TCP Throughput 측정 테스트 에서 18Mbps 의 전송률이 나오므로 실시간 웹페이지 출력이 가능할것 같다.
https://youtube.com/shorts/2fakcUtC8cw
우선 수정이 필요한 웹페이지 파일을 새로 작성하자
html_realtime_read_test1.h
// HTML 페이지
const char index_html[] PROGMEM = R"rawliteral(
<!DOCTYPE html>
<head>
<title> Ajax Web Server </title>
</head>
<html>
<!----------------------------CSS---------------------------->
<style>
</style>
<!----------------------------HTML--------------------------->
<body>
<div class="card">
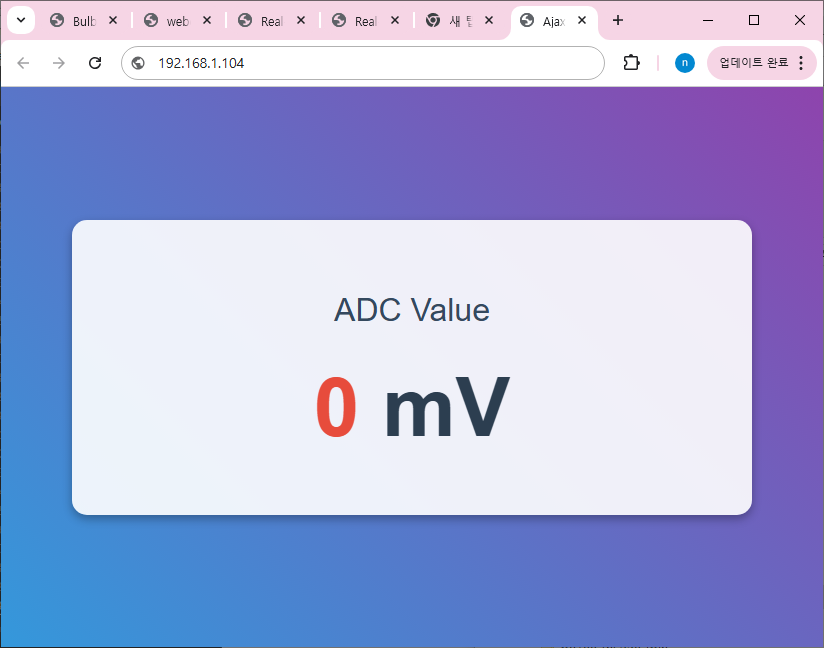
<p>ADC Value</p>
<h1><span id="ADCValue">0</span>mV</h1>
</div>
<!-------------------------JavaScrip------------------------->
<script>
setInterval(function()
{
getReadval();
}, 50);
//-------------------------------------------------------
function getReadval()
{
var POTvalRequest = new XMLHttpRequest();
POTvalRequest.onreadystatechange = function()
{
if(this.readyState == 4 && this.status == 200)
{
document.getElementById("ADCValue").innerHTML = this.responseText;
}
};
POTvalRequest.open("GET", "readVal", true);
POTvalRequest.send();
}
//-------------------------------------------------------
</script>
</body>
</html>
)rawliteral";
[RP2350_W6100 SM] 보드를 이용하여 웹페이지 기본 테스코드 에서 ADC Read를 추가하고 readVal 요청을 처리 하는 함수를 추가 해 주면 된다.
#include "defines.h"
#include "html_realtime_read_test1.h"

#include <SPI.h>
#include "Ethernet_Generic.h"
#include <EthernetWebServer.h>

EthernetWebServer server(80);

const int Led1Pin = 25;


void handle_root()
{
  String str_new_page = index_html;

  server.send(200, "text/html", str_new_page);
}


void handleReadVal()
{
  long adc = 0;
  for(int i=0; i<8; i++)
  {
    adc += analogRead(A0);
  }

 String POTval = String(int(adc/8*3.3*1000/4096));
 Serial.println(POTval);
 server.send(200, "text/plane", POTval);
}


void handleNotFound()
{
  String message = F("File Not Found\n\n");

  message += F("URI: ");
  message += server.uri();
  message += F("\nMethod: ");
  message += (server.method() == HTTP_GET) ? F("GET") : F("POST");
  message += F("\nArguments: ");
  message += server.args();
  message += F("\n");

  for (uint8_t i = 0; i < server.args(); i++)
  {
    message += " " + server.argName(i) + ": " + server.arg(i) + "\n";
  }

  server.send(404, F("text/plain"), message);

  digitalWrite(Led1Pin, 0);
}


void initWebServer()
{
  //페이지 요청 처리 함수 등록
  server.on("/", handle_root);
  server.on("/readVal", handleReadVal);

  server.onNotFound(handleNotFound);

  server.begin();
}


void setup()
{
  pinMode(Led1Pin, OUTPUT);

  digitalWrite(Led1Pin, 1);

  pinMode(3, OUTPUT);
  digitalWrite(3, 1);

  analogReadResolution(12);
  // Open serial communications and wait for port to open:
  SerialDebug.begin(115200);

  while (!SerialDebug && millis() < 5000);
  Ethernet.init (USE_THIS_SS_PIN);

  // start the ethernet connection and the server:
  Ethernet.begin(mac);

  SerialDebug.print(F("Connected! IP address: "));
  SerialDebug.println(Ethernet.localIP());

  initWebServer();

  SerialDebug.print(F("HTTP HelloServer2 started @ IP : "));
  SerialDebug.println(Ethernet.localIP());
}

void loop()
{
  server.handleClient();
}
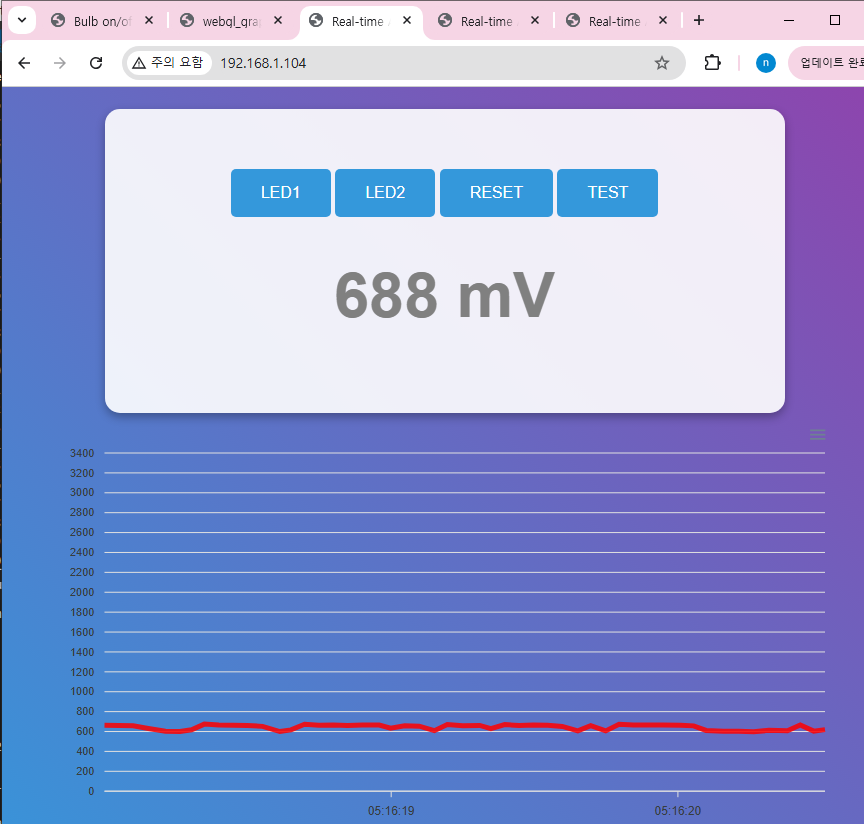
CSS 스타일을 추가 해서 웹페이지를 좀더 꾸미고 그래프를 추가 해 보자
html_realtime_read_test2.h
<!DOCTYPE html>
<head>
  <title> Ajax Web Server </title>
  <style>
    /* 전체 페이지를 꽉 채우는 스타일 */
    html, body {
      margin: 0;
      padding: 0;
      height: 100%;
      font-family: 'Arial', sans-serif;
    }

    /* 배경 그라디언트 적용 */
    body {
      background: linear-gradient(45deg, #3498db, #8e44ad); /* 파란색과 보라색 그라디언트 */
      display: flex;
      justify-content: center;
      align-items: center;
      text-align: center;
      flex-direction: column;
      height: 100%;
    }

    /* 카드 스타일 */
    .card {
      background-color: rgba(255, 255, 255, 0.9); /* 투명도가 있는 흰색 배경 */
      padding: 40px;
      border-radius: 15px;
      box-shadow: 0 4px 10px rgba(0, 0, 0, 0.3);
      width: 90%;  /* 화면 너비의 90%로 크기 조정 */
      max-width: 600px; /* 최대 너비 제한 */
    }

    /* 제목과 텍스트 크기 조정 */
    .card h1 {
      font-size: 10vw; /* 화면 너비에 비례해서 폰트 크기 설정 (너무 작거나 커지지 않음) */
      color: #2c3e50;
      margin: 20px 0;
    }

    .card p {
      font-size: 2rem;
      color: #34495e;
    }

    /* 그래프 캔버스 크기 설정 */
    #myChart {
      width: 90%;
      max-width: 600px;
      height: 400px;
    }

    /* ADC 값이 표시될 영역 스타일 */
    .card span {
      font-weight: bold;
      color: #e74c3c; /* 빨간색 */
    }
  </style>
</head>
자바스크립트를 추가 하여 그래프를 출력할 수 있는 웹페이지를 추가하여 접속하면 보드에서 ADC의 전압값을 읽어 오고 그래프로 출력할 수 있는 테스트를 할 수 있다.
반응형


