지난번 포스트에서는 W55RP20에서 웹서버 출력 관련 테스트를 했는데 이번에는 서버에서 값을 입력 받는 테스트를 해 보자
먼저 Raspberry Pi PicoW - Ajax 를 이용한 실시간 웹 전압 디스플레이(https://nexp.tistory.com/3907 )
Raspberry Pi PicoW - Ajax 를 이용한 실시간 웹 전압 디스플레이
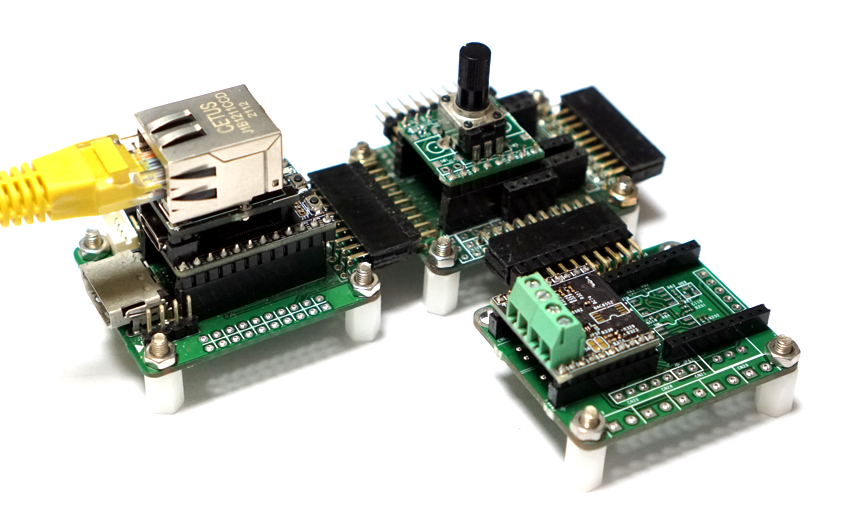
ESP32-S2 웹서버 테스트 - Ajax 를 이용한 실시간 데이터 수신 테스트 코드를 이용하여 실시간 웹 디스플레이 테스트를 해보자. 코드는 거의 동일하게 구동된다. Pi Pico 확장 테스트 보드에는 ADC를 테
nexp.tistory.com
를 참고 해서 웹페이지를 작성 한다
이번에는 페이지를 쉽게 변경하기 위해 웹페이지를 바이너리로 변환해서 처리 하도록 했다.
#define _acadc_read_1_size (1100UL+1)

static const unsigned char _acadc_read_1[_acadc_read_1_size] = {
  0x3C, 0x21, 0x44, 0x4F, 0x43, 0x54, 0x59, 0x50, 0x45, 0x20, 0x68, 0x74, 0x6D, 0x6C, 0x3E, 0x0D, 0x0A, 0x3C, 0x68, 0x65, 0x61, 0x64, 0x3E, 0x0D, 0x0A, 0x20, 0x20, 0x3C, 0x74, 0x69, 0x74, 0x6C, 0x65, 0x3E, 0x20, 0x41, 0x6A, 0x61, 0x78, 0x20,
  0x57, 0x65, 0x62, 0x20, 0x53, 0x65, 0x72, 0x76, 0x65, 0x72, 0x20, 0x3C, 0x2F, 0x74, 0x69, 0x74, 0x6C, 0x65, 0x3E, 0x0D, 0x0A, 0x3C, 0x2F, 0x68, 0x65, 0x61, 0x64, 0x3E, 0x0D, 0x0A, 0x3C, 0x68, 0x74, 0x6D, 0x6C, 0x3E, 0x0D, 0x0A, 0x3C, 0x21,
  0x2D, 0x2D, 0x2D, 0x2D, 0x2D, 0x2D, 0x2D, 0x2D, 0x2D, 0x2D, 0x2D, 0x2D, 0x2D, 0x2D, 0x2D, 0x2D, 0x2D, 0x2D, 0x2D, 0x2D, 0x2D, 0x2D, 0x2D, 0x2D, 0x2D, 0x2D, 0x2D, 0x2D, 0x43, 0x53, 0x53, 0x2D, 0x2D, 0x2D, 0x2D, 0x2D, 0x2D, 0x2D, 0x2D, 0x2D,
  0x2D, 0x2D, 0x2D, 0x2D, 0x2D, 0x2D, 0x2D, 0x2D, 0x2D, 0x2D, 0x2D, 0x2D, 0x2D, 0x2D, 0x2D, 0x2D, 0x2D, 0x2D, 0x2D, 0x3E, 0x0D, 0x0A, 0x3C, 0x73, 0x74, 0x79, 0x6C, 0x65, 0x3E, 0x0D, 0x0A, 0x3C, 0x2F, 0x73, 0x74, 0x79, 0x6C, 0x65, 0x3E, 0x0D,
  0x0A, 0x3C, 0x21, 0x2D, 0x2D, 0x2D, 0x2D, 0x2D, 0x2D, 0x2D, 0x2D, 0x2D, 0x2D, 0x2D, 0x2D, 0x2D, 0x2D, 0x2D, 0x2D, 0x2D, 0x2D, 0x2D, 0x2D, 0x2D, 0x2D, 0x2D, 0x2D, 0x2D, 0x2D, 0x2D, 0x2D, 0x48, 0x54, 0x4D, 0x4C, 0x2D, 0x2D, 0x2D, 0x2D, 0x2D,
  0x2D, 0x2D, 0x2D, 0x2D, 0x2D, 0x2D, 0x2D, 0x2D, 0x2D, 0x2D, 0x2D, 0x2D, 0x2D, 0x2D, 0x2D, 0x2D, 0x2D, 0x2D, 0x2D, 0x2D, 0x2D, 0x2D, 0x3E, 0x0D, 0x0A, 0x3C, 0x62, 0x6F, 0x64, 0x79, 0x3E, 0x0D, 0x0A, 0x20, 0x20, 0x3C, 0x64, 0x69, 0x76, 0x20,
  :
  }
main 함수에서는 index.html 요청에 _acsimple_bar1 변수의 데이터를 전송 하도록 했다.
#include "adc_read_1_page.h"

int main()
{
    uint8_t retval = 0;
    uint8_t dhcp_retry = 0;
    uint8_t dns_retry = 0;
    int i;
    int cnt = 0;

    set_clock_khz();
    stdio_init_all();

    gpio_init(LED1_PIN);
    gpio_set_dir(LED1_PIN, GPIO_OUT);

    adc_init();
    adc_gpio_init(26);
    // Select ADC input 0 (GPIO26)
    adc_select_input(0);

    printf("W55RP20 Start\n");

    stdio_init_all();

    wizchip_spi_initialize();
    wizchip_cris_initialize();

    wizchip_reset();
    wizchip_initialize();
    wizchip_check();

    network_initialize(g_net_info);

    httpServer_init(g_http_send_buf, g_http_recv_buf, HTTP_SOCKET_MAX_NUM, g_http_socket_num_list);

    /* Get network information */
    print_network_information(g_net_info);

	reg_httpServer_webContentB((uint8_t *)"index.html", (uint8_t *)_acadc_read_1, _acadc_read_1_size);

    /* Infinite loop */
    while (1)
    {
        /* Run HTTP server */
        for (i = 0; i < HTTP_SOCKET_MAX_NUM; i++)
        {
            httpServer_run(i);
        }
    }
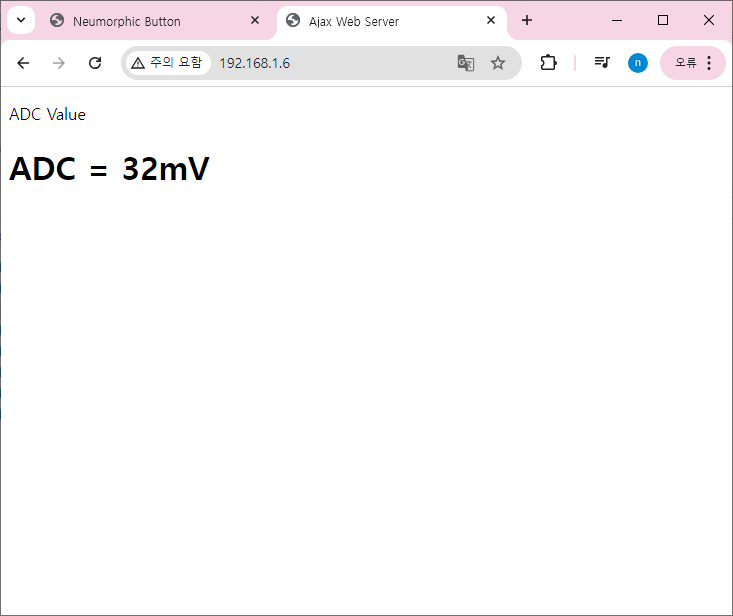
웹페이지에서 요청하는 내용을 처리하는 ProcessUserPageCb 함수를 ADC 값 요청에 대응 할수 있도록 했다. 웹페이지의 Ajax에서 요청하는 GET 메소드에서 readVal 값을 확인해서 ADC 값을 전송해 주면 된다.
unsigned int ProcessUserPageCb(unsigned s, unsigned char *uri_name, st_http_request * p_http_request)
{
    char req_buf[128];

	if(strstr(p_http_request->URI, "led_off.html"))
	{
		Led1Off();
        Led2Off();
		printf("LED ->%s\r\n", uri_name);
	}
	else if(strstr(p_http_request->URI, "led_on.html"))
	{
		Led1On();
        Led2On();
		printf("LED ->%s\r\n", uri_name);
	}
	else if(strstr(p_http_request->URI, "readVal"))
	{
        uint16_t adc = adc_read();

		sprintf(req_buf, "%d", (unsigned int)(adc*3.3f / (1 << 12)*1000));
        printf(req_buf);

        send_http_response_cgi2(s, req_buf, strlen(req_buf));

        return 1;
	}

	return 0;
}
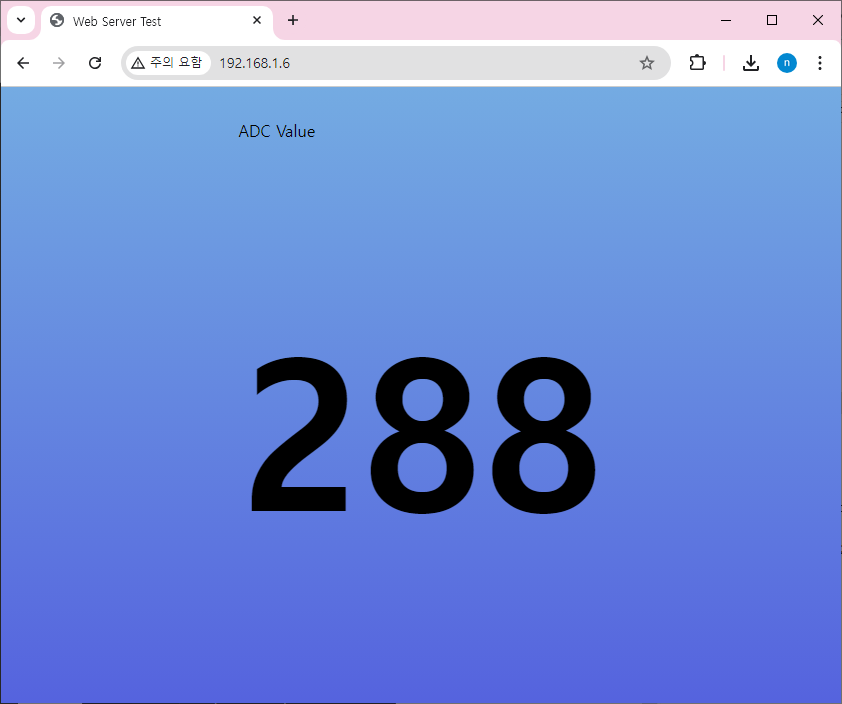
W55RP20의 웹서버에 접속하면 실시간으로 ADC값을 전송하는 것을 확인 할 수 있다.
웹페이지의 CSS 스크립트를 추가 하면 좀더 보기 좋은 웹페이지를 표현 할 수 있다.
<!DOCTYPE html>
<html>
<head>
  <title>Web Server Test</title>
	<style>
		html, body {
			height: 100%;
			overflow: hidden;
		  }
		  body {
			display: flex;
			align-items: center;
			justify-content: center;
			background: linear-gradient(to bottom, #74ABE2, #5563DE);
			font-family: 'Ropa Sans', sans-serif;
		  }

		  h1 {
			font-size: 25vw;
		  }
	</style>
</head>
<body>
	<div class="card">
	  <p>ADC Value</p>
	  <h1><span id="ADCValue">120</span></h1>
	</div>
  <!-------------------------JavaScrip------------------------->
	<script>
	  setInterval(function()
	  {
		getReadval();
	  }, 50);
	  //-------------------------------------------------------
	  function getReadval()
	  {
		var POTvalRequest = new XMLHttpRequest();
		POTvalRequest.onreadystatechange = function()
		{
		  if(this.readyState == 4 && this.status == 200)
		  {
			document.getElementById("ADCValue").innerHTML = this.responseText;
		  }
		};
		POTvalRequest.open("GET", "readVal", true);
		POTvalRequest.send();
	  }
	  //-------------------------------------------------------
	</script>
  </body>
</html>
주어진 SDK라이브러리 내에서 웹서버 처리를 하려면 여러가지 작성해 주어야 할것이 많은것 같은데.. 아무튼 웹페이지에서 입출력이 된는 환경은 구축 했으니 이제 다양한 웹서버 예제도 구현 가능할것 같다.