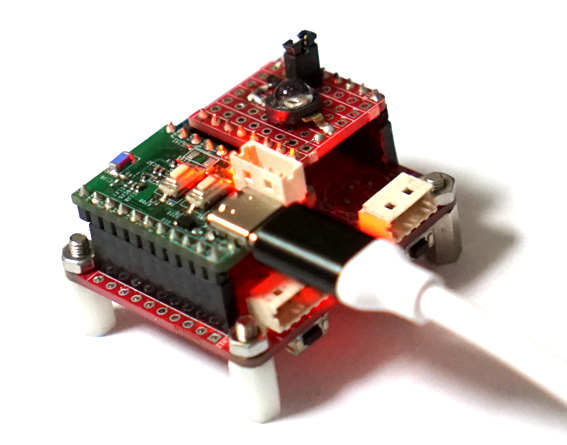
ESP32-S3 를 이용하여 소형의 [ESP32-S3 SSM] 보드 제작 했으니 WiFi 기능을 테스트 해 보자. WiFi 기능 테스트를 위해 SPIFFS 웹서버 를 구현해 보았다.
내장 플래시 메모리에 웹페이지를 쉽게 수정할 수 있는 SPIFFS를 이용한 웹페이지 테스트 예제를 이용하여 작성 하였다.
ESP32 비동기 AsyncWebServer - SPIFFS 사용
ESP32 웹서버 테스트시 좀더 화려한 웹페이지를 만들기 위해 HTML 코드나 CCS 파일을 수정하는 일이 많은데 이번에는 ESP32의 SPIFFS 파일 시스템에 올려서 웹서버를 구현 하는 테스트를 해 보았다. 이
nexp.tistory.com
웹페이지의 Slider값의 변경 사항을 반영하여 PWM출력을 변경하는 테스트 소스코드
#include <WiFi.h>
#include <AsyncTCP.h>
#include <ESPAsyncWebServer.h>
#include <SPIFFS.h>

const char *WIFI_SSID = "netis";
const char *WIFI_PASS = "****";

const int output = 16;
String sliderValue = "0";
const int freq = 5000;
const int ledChannel = 0;
const int resolution = 8;
const char* PARAM_INPUT = "value";

AsyncWebServer server(80);

String processor(const String& var)
{
    Serial.println(var);
    if (var == "SLIDERVALUE"){
    return sliderValue;
    }
    return String();
}

void onRootRequest(AsyncWebServerRequest *request)
{
	request->send(SPIFFS, "/index.html", "text/html", false, processor);
}

void initSPIFFS()
{
    if (!SPIFFS.begin()) {
    Serial.println("Cannot mount SPIFFS volume...");
    while(1);
    }
}

void initWiFi()
{
    WiFi.mode(WIFI_STA);
    WiFi.begin(WIFI_SSID, WIFI_PASS);
    Serial.printf("Trying to connect [%s] ", WiFi.macAddress().c_str());
    while (WiFi.status() != WL_CONNECTED) {
    Serial.print(".");
    delay(500);
	}
	Serial.printf(" %s\n", WiFi.localIP().toString().c_str());
}

void initWebServer()
{
    server.on("/", onRootRequest);
    server.serveStatic("/", SPIFFS, "/");
    server.on("/slider", HTTP_GET, [] (AsyncWebServerRequest *request) {
    String inputMessage;
    Serial.println("/slider");

    if (request->hasParam(PARAM_INPUT)) {
    inputMessage = request->getParam(PARAM_INPUT)->value();
    sliderValue = inputMessage;
    ledcWrite(ledChannel, sliderValue.toInt());
    }
    else {
    inputMessage = "No message sent";
    }

    Serial.println(inputMessage);
    request->send(200, "text/plain", "OK");
    });
    server.begin();
}

void loop() {

}
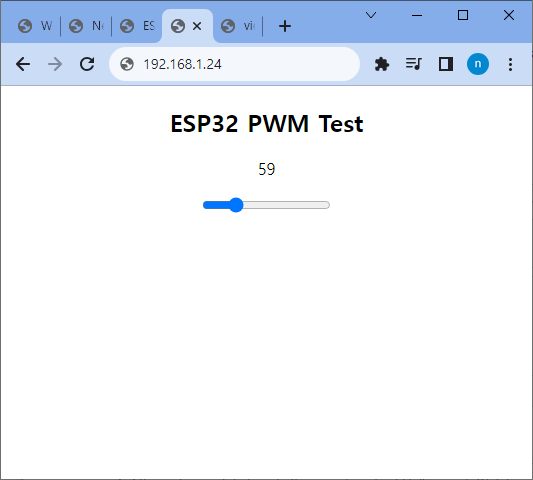
웹페이지는 우선 동작테스트를 위해 가장 간단히 Slider 값을 전송 할 수 있도록 작성했다.
<!DOCTYPE html>
<html>
<head>
<title>ESP32 Web Server Test - Servo Controll</title>
<style>
</style>
</head>
<body>
<body>
<center>
<h2>ESP32 PWM Test</h2>
<p><span id="textSliderValue">0</span></p>
<p><input type="range" onchange="updateSliderPWM(this)" id="pwmSlider" min="0" max="255" value="0" step="1" class="slider"></p>
</center>
<script>
function updateSliderPWM(element) {
var sliderValue = document.getElementById("pwmSlider").value;
document.getElementById("textSliderValue").innerHTML = sliderValue;
console.log(sliderValue);
var xhr = new XMLHttpRequest();
xhr.open("GET", "/slider?value="+sliderValue, true);
xhr.send();
}
</script>
</body>
</html>
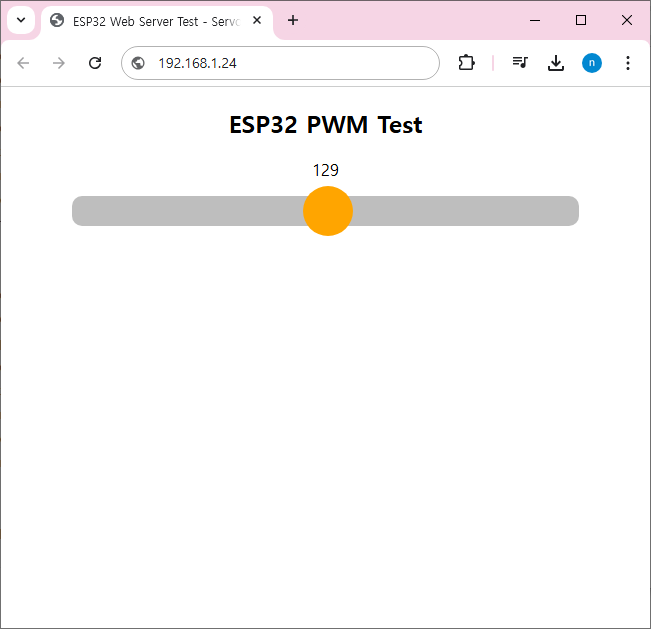
웹페이지의 style 값을 수정해서 좀더 다양한 slider 모양을 쉽게 변경 할 수 있다.
<html>
    <head>
        <title>ESP32 Web Server Test - Servo Controll</title>
	<style>
  .slider {
    -webkit-appearance: none;
    margin: 0 auto;
    width: 80%;
    height: 30px;
    border-radius: 10px;
    background:	#bebebe	;
    outline: none;
  }

  .slider::-webkit-slider-thumb {
    -webkit-appearance: none;
    appearance: none;
    width: 50px;
    height: 50px;
    border-radius: 50%;
    background: #FFA500	;
    cursor: pointer;
  }
	</style>
    </head>
SPIFFS 를 사용하면 웹페이를 다양하게 변경하는것이 간단히 구현할 수 있다.
최종 프로젝트에 적용된 웹페이지는 아래 그림과 같이 CSS 스타일을 적용해 제작 하였다.
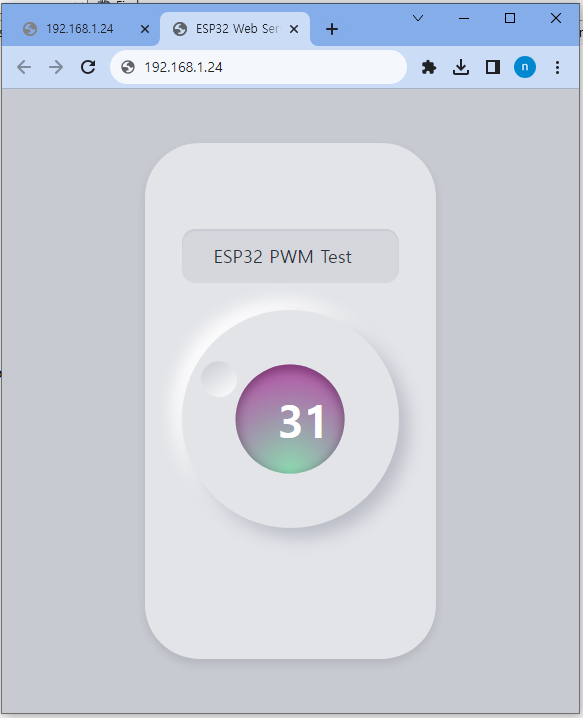
반응형


