기존에 테스트 했던 웹서버는 저장소가 없이 소스코드 내에서 웹페이지의 정보를 전송 했는데 복잡한 웹페이지나 이미지가 많이 들어가는 웹페이지는 다루기가 어렵다. 그래서 파일 시스템(LittleFS)에 웹페이지 관련 파일들을 저장 해 두고 처리하면 상당히 편리 하다.
특히 웹페이지를 자주 바꾸어서 테스트 해야 하는 테스트에서는 파일시스템 내용만 바꾸면 되기 때문에 정말 빠르고 편리하게 개발 할 수 있다.
ESP32 SPIFFS 웹서버 예제를 참고 해서 Pi Pico에서 제공하는 LittleFS로 웹서버를 구현하는 코드를 작성해 보자
#include <WiFi.h>
#include <WiFiClient.h>
#include <WebServer.h>
#include <LittleFS.h>
#define _FS LittleFS
#ifndef STASSID
#define STASSID "****"
#define STAPSK "****"
#endif
const char* ssid = STASSID;
const char* password = STAPSK;
WebServer server(80);
const int Led1Pin = 9;
//페이지 요청이 들어 오면 처리 하는 함수
//On 버튼 페이지 처리함수
void SetLedStatusOn()
{
Serial.println("On");
digitalWrite(Led1Pin, 0);
server.send(200, "text/html", "");
}
//Off 버튼 페이지 처리함수
void SetLedStatusOff()
{
Serial.println("Off");
digitalWrite(Led1Pin, 1);
server.send(200, "text/html", "");
}
void handleNotFound()
{
String message = "File Not Found\n\n";
server.send(404, "text/plain", message);
}
void InitWebServer()
{
//페이지 요청 처리 함수 등록
server.on("/on", HTTP_GET, SetLedStatusOn);
server.on("/off", HTTP_GET, SetLedStatusOff);
server.serveStatic("/", _FS, "/index.html");
server.serveStatic("/", _FS, "/");
server.onNotFound(handleNotFound);
server.begin();
}
void InitWiFi(void)
{
WiFi.mode(WIFI_STA);
WiFi.begin(ssid, password);
// Wait for connection
while (WiFi.status() != WL_CONNECTED) {
delay(500);
Serial.print(".");
}
}
void listAllFilesInDir(String dir_path)
{
int cnt = 0;
Dir dir = LittleFS.openDir(dir_path);
while(dir.next()) {
if (dir.isFile()) {
// print file names
Serial.print("File: ");
Serial.println(dir_path + dir.fileName());
Serial.printf("File Content:%d\r\n", 1+cnt++);
}
if (dir.isDirectory()) {
// print directory names
Serial.print("Dir: ");
Serial.println(dir_path + dir.fileName() + "/");
// recursive file listing inside new directory
listAllFilesInDir(dir_path + dir.fileName() + "/");
}
}
}
void setup(void) {
pinMode(Led1Pin, OUTPUT);
digitalWrite(Led1Pin, 0);
analogReadResolution(12);
Serial.begin(115200);
while (!Serial)
{
if (Serial) {
Serial.println("Waiting for other USB ports");
}
}
if(!LittleFS.begin()){
Serial.println("An Error has occurred while mounting LittleFS");
return;
}
listAllFilesInDir("/");
InitWiFi();
Serial.println("");
Serial.print("Connected to ");
Serial.println(ssid);
Serial.print("IP address: ");
Serial.println(WiFi.localIP());
InitWebServer();
server.begin();
Serial.println("HTTP server started");
}
void loop(void) {
server.handleClient();
}
RP2040 Pico LittleFS 파일 시스템 테스트 를 참고 해서 data 폴더를 파일시스템에 넣을 수 있다.
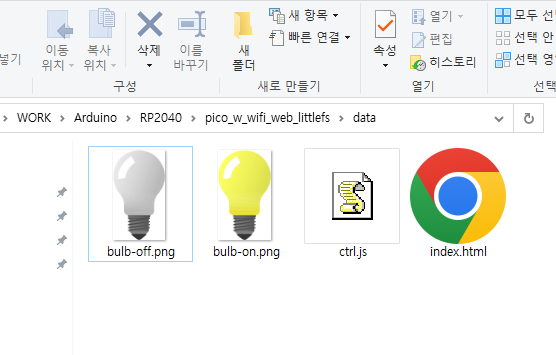
index.html 파일은 간단히 LED 이미지를 출력하고 버튼을 추가 해서 입력 처리를 할수 있도록 했다.
<!DOCTYPE html>
<head>
    <meta charset="UTF-8">
    <meta http-equiv="X-UA-Compatible" content="IE=edge">
    <meta name="viewport" content="width=device-width, initial-scale=1.0">
    <title>Document</title>
	<script src="ctrl.js"></script>
</head>

<body>
	<center>
    <header>
        <h1>PicoW Webserver LED On/Off(javascript)</h1>
    </header>
    <section>
        <img src="bulb-off.png" id="bulb" width="200">
        <div class="btn_container">
		<button id="on" class="bulb_btn" onclick="led_on()">on</button>
        <button id="off" class="bulb_btn" onclick="led_off()">off</button>
		</div>
    </section>
	</center>
</body>
</html>
ctrl.js 제어를 위한 코드는 자바스크립트로 별도의 파일로 만들어 다양한 처리를 할수 있도록 할수 있다.
function led_on(){
  document.getElementById('bulb').src='bulb-on.png';

  var POTvalRequest = new XMLHttpRequest();
  POTvalRequest.open("GET", "on", true);
  POTvalRequest.send()
}

function led_off(){
  document.getElementById('bulb').src='bulb-off.png';

  var POTvalRequest = new XMLHttpRequest();
  POTvalRequest.open("GET", "off", true);
  POTvalRequest.send()
}
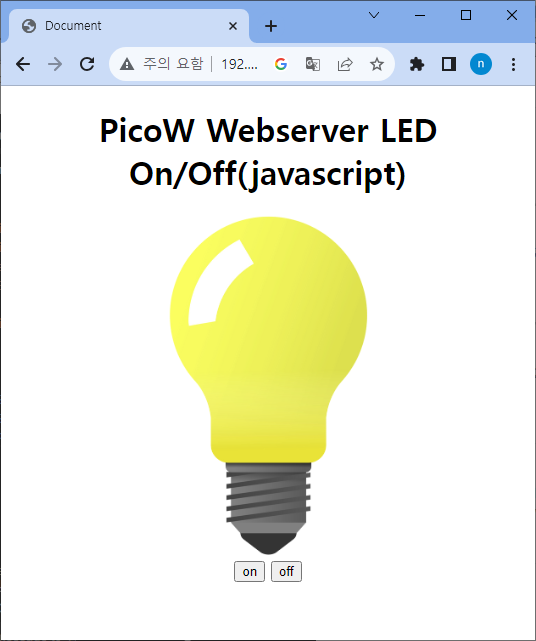
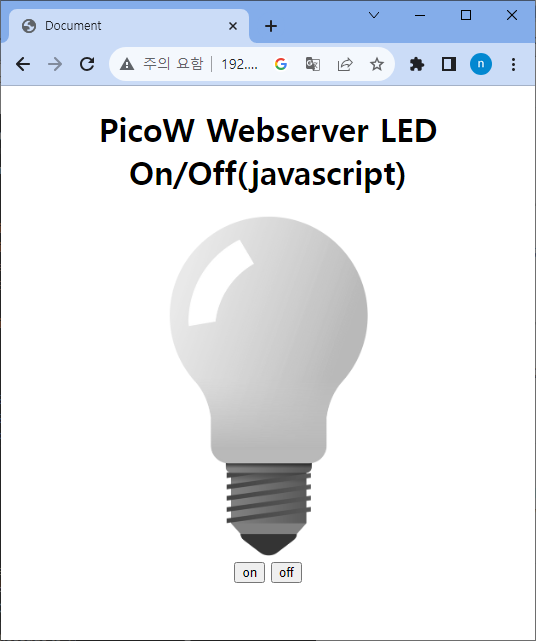
펌웨어를 다운로드 하고 웹페이지에 접속하면 기본 페이지를 출력 하고 버튼의 상태에 따라 LED 출력이 변경되는 것을 확인 할수 있다.
반응형


