Serial Web은 Chrome 89에서 제공하는 웹페이지 상에서 USB 하드웨어 장치에 접근할 수 있는 API 이다.
Web Serial API는 웹사이트가 JavaScript를 사용하여 직렬 장치에서 읽고 쓸 수 있다.
Serial Web의 장점은 사용자 인터페이스를 위해 복잡하 프로그램을 작성해서 제공할 필요 없이 웹에 접속해서 설정이나 기능 테스트를 할수 있는 상당히 편리한 솔루션이다.
HID KeyBoard 장치의 키값 설정 예제에 적용하면 좋을것 같다.
시작하기
최신의 Chrome 웹 브라우저가 필요하다.
https://www.google.com/chrome/
Chrome 웹브라우저
더욱 스마트해진 Google로 더 간편하고 안전하고 빠르게.
www.google.com
크롬 설정에서 Experimental Web Platform features 설정을 Enable 해 주어야 한다.
chrome://flags/

WebSerial 동작 테스트를 위해 웹페이지가 필요 하다.
WebSerial API (https://wicg.github.io/serial/)
Web Serial API
Abstract The Serial API provides a way for websites to read and write from a serial device through script. Such an API would bridge the web and the physical world, by allowing documents to communicate with devices such as microcontrollers, 3D printers, and
wicg.github.io
를 이용하여 간단한 테스트 웹페이지를 생성 했다.
<html>
   <head>
      <title>Serial Web</title>
   </head>
<body>

<button id="connect">Connect to device</button>

<p>
  <button id="on">LED ON</button>
  <button id="off">LED OFF</button>
</p>


<script>
	let port;

	document.querySelector('#connect').addEventListener('click', async () => {
	const filters = [

	];

	port = await navigator.serial.requestPort({ filters });
	const { usbProductId, usbVendorId } = port.getInfo();

	await port.open({ baudRate: 115200 });
	});

	//LED ON
	document.querySelector('#on').addEventListener('click', async () => {

		const writer = port.writable.getWriter();

		const data = new Uint8Array(['H']);
		writer.write(data);

		// Allow the serial port to be closed later.
		writer.releaseLock();

	});

	//LED OFF
	document.querySelector('#off').addEventListener('click', async () => {

		const writer = port.writable.getWriter();

		const data = new Uint8Array(['L']);
		writer.write(data);


		// Allow the serial port to be closed later.
		writer.releaseLock();
	});
</script>
</body>
</html>
RP2040의 WebSerial Code
int led_pin = LED_BUILTIN;

void setup()
{
  pinMode(led_pin, OUTPUT);
  digitalWrite(led_pin, LOW);

  Serial.begin(115200);

  if (Serial.available())
  Serial.println("TinyUSB WebUSB Serial example");
}

void loop()
{
  // From Serial to both Serial & webUSB
  if (Serial.available())
  {
    char chr = Serial.read();

     if(chr == 'H')
        digitalWrite(led_pin, 1);
     else if(chr == 'L')
        digitalWrite(led_pin, 0);
  }
}
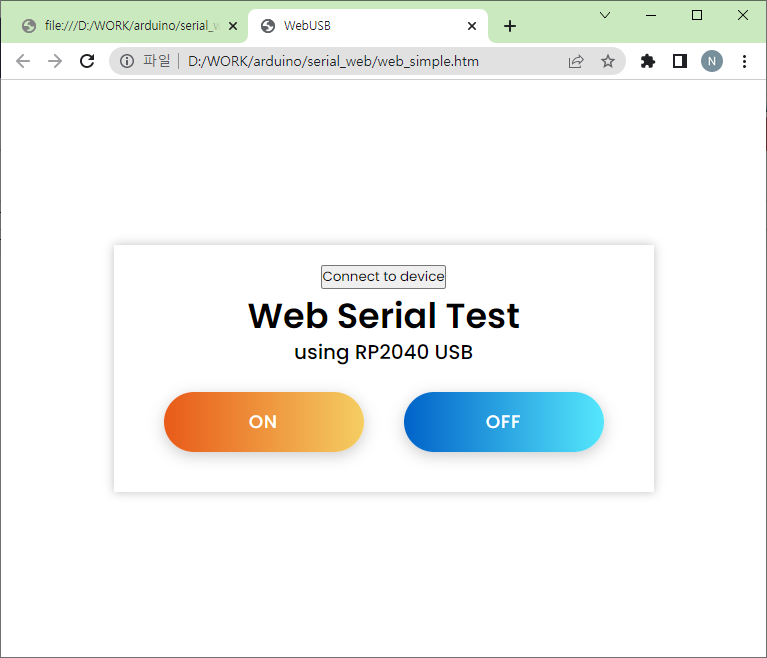
WebSerial 동작 테스트
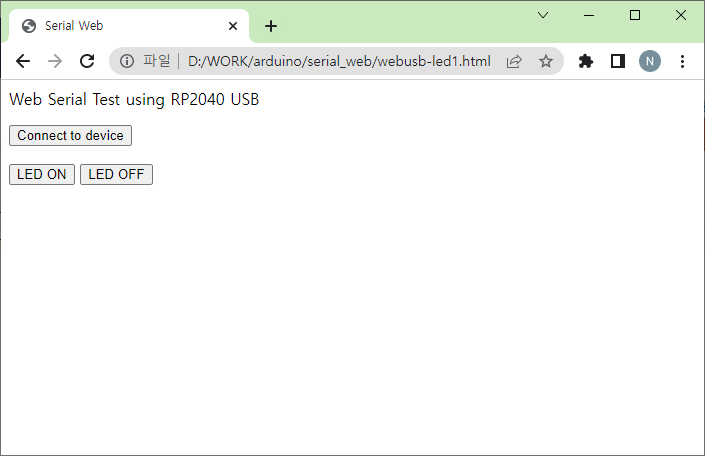
"Connect to device" 버튼으로 시리얼 포트를 초기화 후 LED 제어를 할 수 있다.

CCS를 이용해 좀더 이쁜 웹페이지로 제작해 보았다.