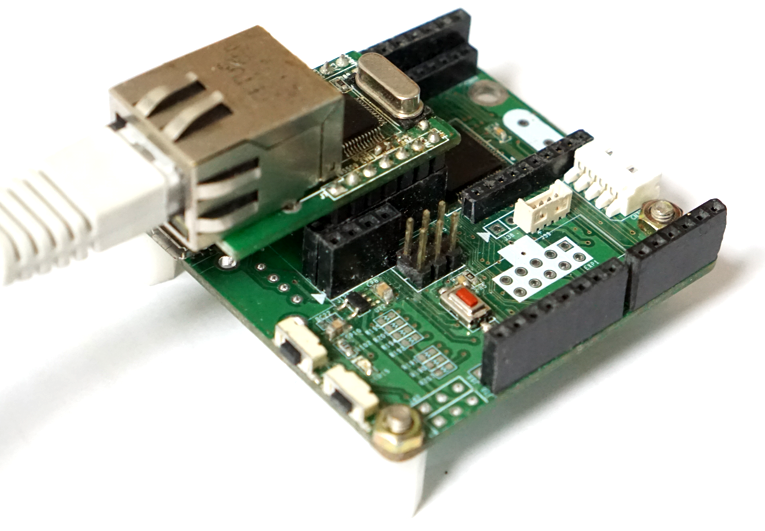
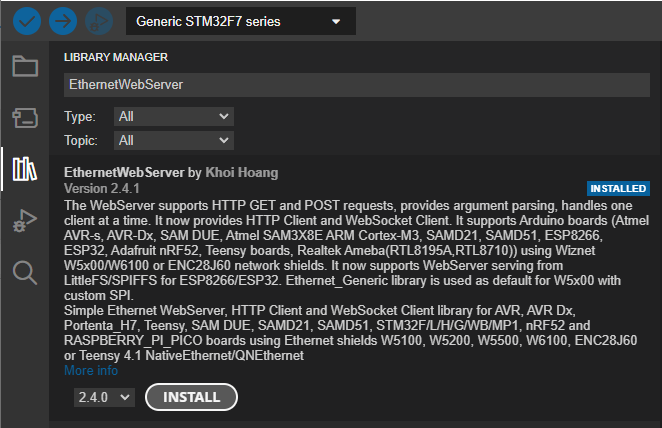
우선 WebServer구현을 위해 라이브러리를 다운 받는다.
앞으로 사용할 가장 기본이 되는 Webserver 관련 뼈대 코드를 작성해 보자
byte mac[] = {0x00, 0x08, 0xDC, 0x00, 0x00, 0x00};

#include <SPI.h>
#include "Ethernet_Generic.h"
#include <EthernetWebServer.h>

#define W5500_CS_PIN        PB0
#define LED1_PIN            PB2

#define Led1On() digitalWrite(LED1_PIN, 1)
#define Led1Off() digitalWrite(LED1_PIN, 0)

EthernetWebServer server(80);

//-----------------------------------------------------------------------------
// HTML 페이지
const char index_html[] PROGMEM = R"rawliteral(
<!DOCTYPE html>
<html>
<head>
<style>
</style>
</head>
<body>
<h1><center>ESP32 Simple Web Server</h1>
<br><br>
    <a href="on"><button type="button">ON</button></a><p>
    <a href="off"><button type="button">OFF</button></a>
</body>
</html>
)rawliteral";
//-----------------------------------------------------------------------------

//-----------------------------------------------------------------------------
//웹페이지 처리  함수
//메인 페이지
void handle_root()
{
  server.send(200, "text/html", index_html);
}

//오류처리
void handleNotFound()
{
  String message = F("File Not Found\n\n");
  server.send(404, F("text/plain"), message);
}

//On 버튼 페이지 처리함수
void SetLedStatusOn()
{
  server.send(200, "text/html", index_html);

  Led1On();
}

//Off 버튼 페이지 처리함수
void SetLedStatusOff()
{
  server.send(200, "text/html", index_html);

  Led1Off();
}

//초기화 함수
void initWebServer()
{
  //페이지 요청 처리 함수 등록
  server.on("/", handle_root);
  server.on("/on", HTTP_GET, SetLedStatusOn);
  server.on("/off", HTTP_GET, SetLedStatusOff);
  server.onNotFound(handleNotFound);
  server.begin();
}
//-----------------------------------------------------------------------------

void setup()
{
  pinMode(LED1_PIN, OUTPUT);
  Led1On();

  Serial.begin(115200);
  Serial.println("W5500 Webserver Test");

  // start the Ethernet connection and the server:
  Ethernet.init (USE_THIS_SS_PIN);
  Ethernet.begin(mac);
  Serial.print("My IP address: ");
  Serial.println(Ethernet.localIP());

  initWebServer();
}

void loop()
{
  server.handleClient();
}
코드를 실행하면 아래와 같은 간단한 웹페이지를 확인 할 수 있다.
기본 뼈대 코드를 조금씩 수정해서 좀더 이쁜 웹서버 페이지를 작성할 수 있다.
우선 systle 코드를 추가해서 버튼 모양을 바꿔보자
// HTML 페이지
const char index_html[] PROGMEM = R"rawliteral(
<!DOCTYPE html>
<html>
<head>
<style>
  button {
        width:120px;
        height: 40px;
        color:#fff;
        background: #f80404e0;
        font-size: 16px;
        border:none;
        border-radius: 20px;
        box-shadow: 0 4px 16px #5c0b16;
        transition:0.3s;
        position: relative;
        left:50%;
        top:50%;
        transform: translate(-50%,-50%);
    }
    button:focus {
        outline:0;
    }
    button:hover{
        background: rgba(0,79,255,0.9);
        cursor: pointer;
        box-shadow: 0 2px 4px rgba(0,79,255,0.6);
    }
</style>
</head>
<body>
<h1><center>Simple Web Server</h1>
<br><br>
    <a href="on"><button type="button">ON</button></a><p>
    <a href="off"><button type="button">OFF</button></a>
</body>
</html>
)rawliteral";
좀더 좋아졌다.
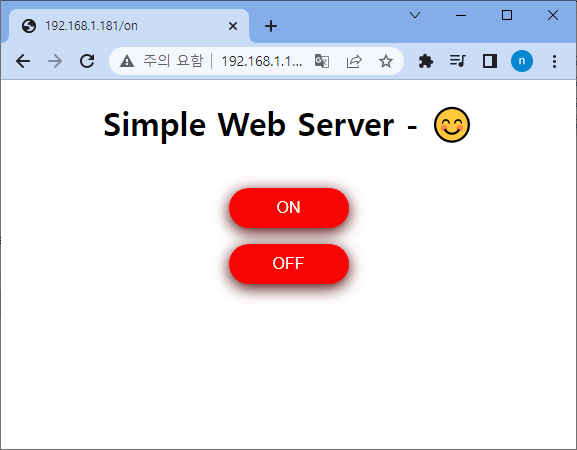
최종적으로 아래와 같이 스타일을 변경 할 수 있다.

반응형


