
ESP32 에서 제공하는 기본 라이브러리를 이용해 가장 간단한 웹서버 예제를 작성 해 보자
WiFi에 접속하고 페이지 요청 들어 오면 간단한 HTML 페이지를 전송하는 코드 이다.
#include <WiFi.h>
#include <WebServer.h>
// SSID & Password
const char *ssid = "";
const char *password = "";
WebServer server(80); // Object of WebServer(HTTP port, 80 is defult)
void handle_root();
// HTML 페이지
#if 1
const char index_html[] PROGMEM = R"rawliteral(
<!DOCTYPE html>
<html>
<body>
<center>
<h1>ESP32 Simple Web Server - 😊</h1>
</center>
</body>
</html>
)rawliteral";
#endif
//페이지 요청이 들어 오면 처리 하는 함수
void handle_root()
{
server.send(200, "text/html", index_html);
}
void InitWebServer()
{
//페이지 요청 처리 함수 등록
server.on("/", handle_root);
server.begin();
}
void setup() {
Serial.begin(115200);
Serial.println("ESP32 Simple web Start");
Serial.println(ssid);
//WiFi 접속
WiFi.begin(ssid, password);
//접속 완료 하면
while (WiFi.status() != WL_CONNECTED) {
delay(1000);
Serial.print(".");
}
Serial.print("Wifi IP: ");
Serial.println(WiFi.localIP()); //Show ESP32 IP on serial
InitWebServer();
Serial.println("HTTP server started");
delay(100);
}
void loop() {
server.handleClient();
}여기서 한가지 팁으로 Raw String Literal 를 사용하면 웹페지 HTML 소스를 문자열 처럼 만들 수 있다.
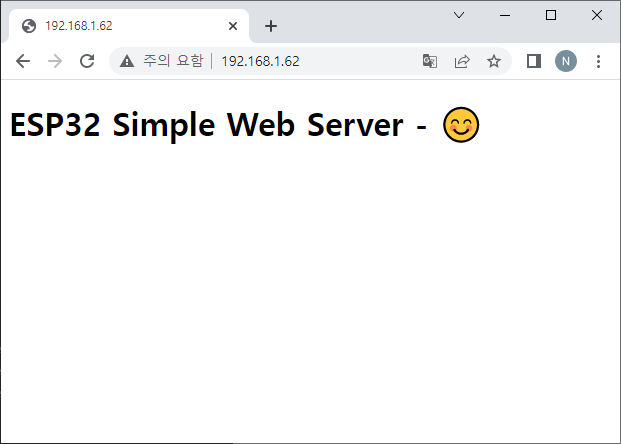
컴파일 후 다운로드 하면 시리얼 터미널 창에서 웹페이지의 IP를 확인 할 수 있다.

웹서버 IP로 접속 하면 기본 페이지가 출력 되는것을 확인 할 수 있다.
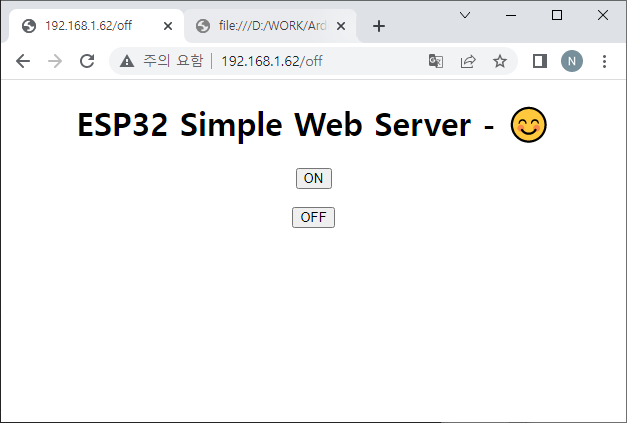
이번에는 조금 더 복잡한 웹페이지를 하나 만들자. LED On/Off Button 을 만들어서 제어 할 수 있도록 웹이페이지를 작성 했다.
const char index_html[] PROGMEM = R"rawliteral(
<!DOCTYPE html>
<html>
<body>
<center>
<h1>ESP32 Simple Web Server - 😊</h1>
<a href="on"><button>ON</button></a><p></p>
<a href="off"><button>OFF</button></a>
</center>
</body>
</html>
)rawliteral";
웹페이지의 요청 인자에 따라 LED 상태를 처리 하는 함수
//페이지 요청이 들어 오면 처리 하는 함수
void handle_root() {
  server.send(200, "text/html", index_html);
}

//On 버튼 페이지 처리함수
void SetLedStatusOn()
{
    Serial.println("On");
    digitalWrite(Led1Pin, 0);
    server.send(200, "text/html", index_html);
}

//Off 버튼 페이지 처리함수
void SetLedStatusOff()
{
    Serial.println("Off");
    digitalWrite(Led1Pin, 1);
    server.send(200, "text/html", index_html);
}
페이지 요청에 따른 콜백 함수 등록
void InitWebServer()
{
    //페이지 요청 처리 함수 등록
    server.on("/", handle_root);
    server.on("/on", HTTP_GET, SetLedStatusOn);
    server.on("/off", HTTP_GET, SetLedStatusOff);

    server.begin();
}

void setup() {
    pinMode(Led1Pin, OUTPUT);
    digitalWrite(Led1Pin, 1);

    Serial.begin(115200);
    Serial.println("ESP32 Simple web Start");
    Serial.println(ssid);

    // Connect to your wi-fi modem
    WiFi.begin(ssid, password);

    // Check wi-fi is connected to wi-fi network
    while (WiFi.status() != WL_CONNECTED) {
    delay(1000);
    Serial.print(".");
    }
    Serial.println("");
    Serial.println("WiFi connected successfully");
    Serial.print("IP: ");
    Serial.println(WiFi.localIP());  //Show ESP32 IP on serial

	InitWebServer();

    Serial.println("HTTP server started");
    delay(100);
}
이렇게 해서 실행 하면 Led On/Off Button을 가진 웹페이지가 출력되며 각 버튼에 따라 웹페이지를 요청하고 LED를 제어 할 수 있다.
이제 기본 틀이 완료 되었기에 웹페이지를 좀더 화려하게 꾸미면 좀더 보기 좋은 웹서버를 구현 할 수 있다.
const char index_html[] PROGMEM = R"rawliteral(
<!DOCTYPE html>
<html>
<head>
<style>
button {
width:120px;
height: 40px;
color:#fff;
background: #f80404;
font-size: 16px;
border:none;
border-radius: 20px;
box-shadow: 0 4px 16px #4d0000;
transition:0.3s;
position: relative;
left:50%;
top:50%;
transform: translate(-50%,-50%);
}
</style>
</head>
<body>
<h1><center>ESP32 Simple Web Server - 😊</h1>
<br><br>
<a href="on"><button type="button">ON</button></a><p>
<a href="off"><button type="button">OFF</button></a>
</body>
</html>
)rawliteral";
CCS 파일을 적당히 활용하면 간단하면서도 멋진 웹페이지를 구현 할 수 있다.

반응형


